








How to Make Cosplay Contacts Pop in Photos: A Lighting & Camera Guide
The lens looked incredible at home and vanished in every con photo — lighting did that. The catchlight rule, angle math, phone settings and the editing line you shouldn't cross.
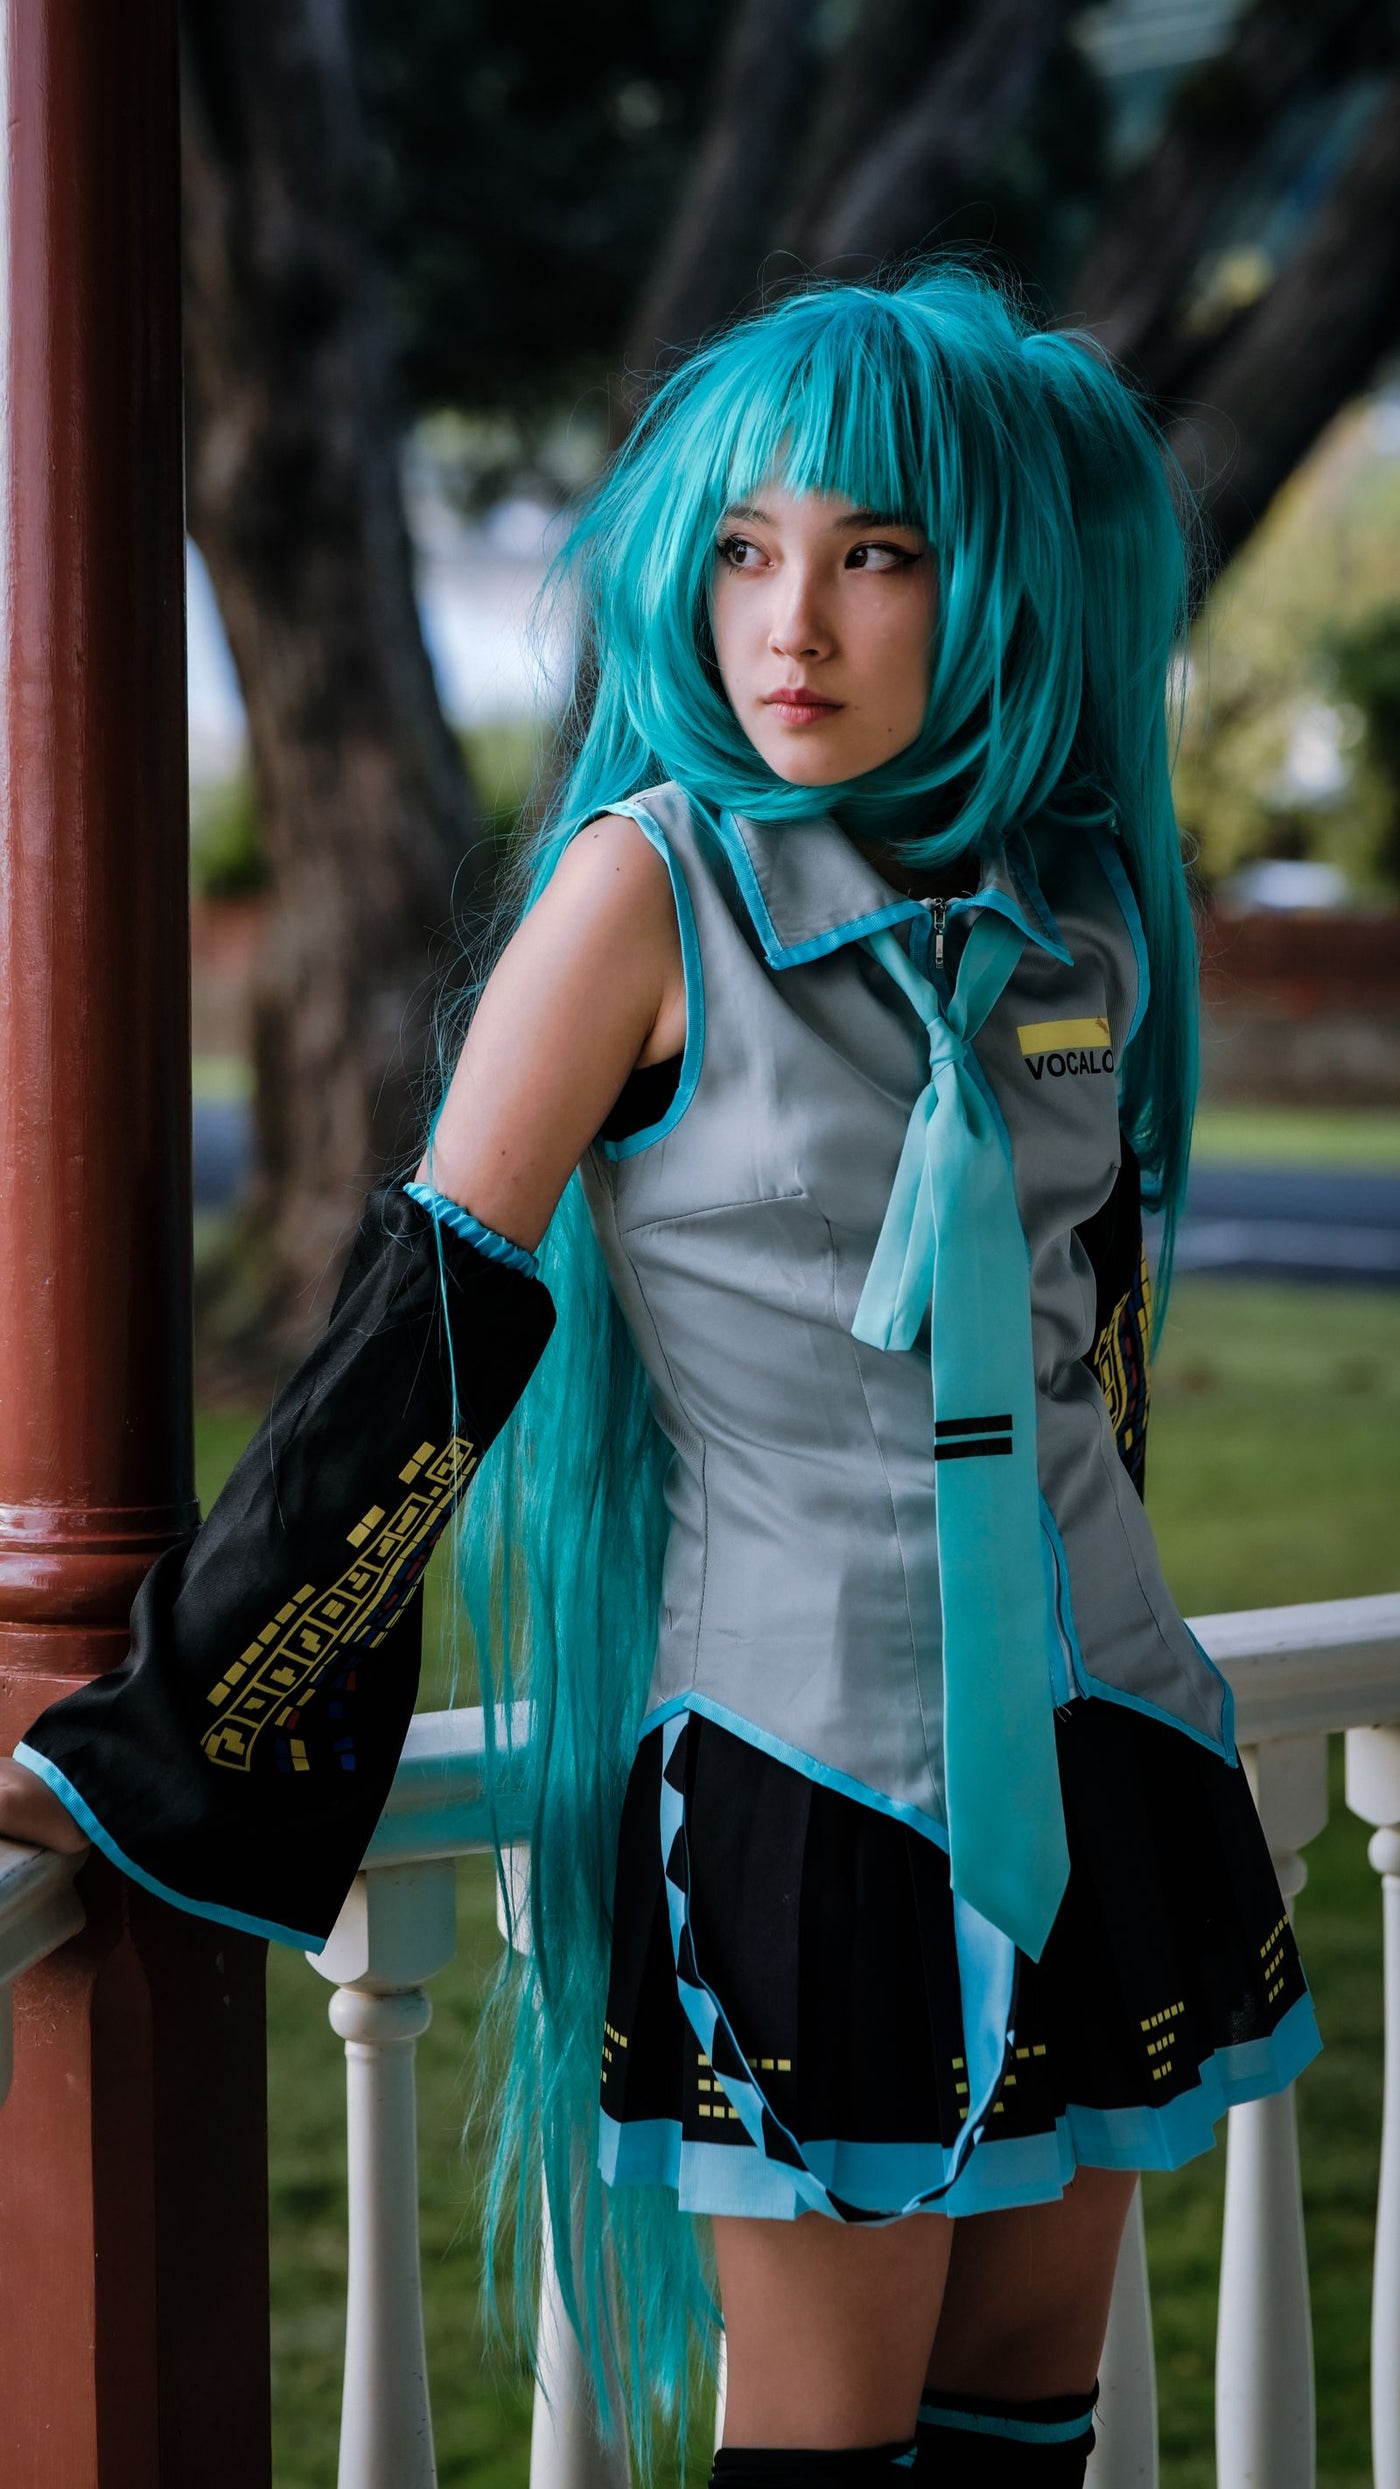
You paid for the exact right lens, the cosplay is perfect, and in every convention photo your eyes read as… dark blurs. Nothing was wrong with the lens — everything was wrong with the light. Eyes are tiny, wet, curved mirrors; photographing them is a lighting problem, and here's the whole solution.
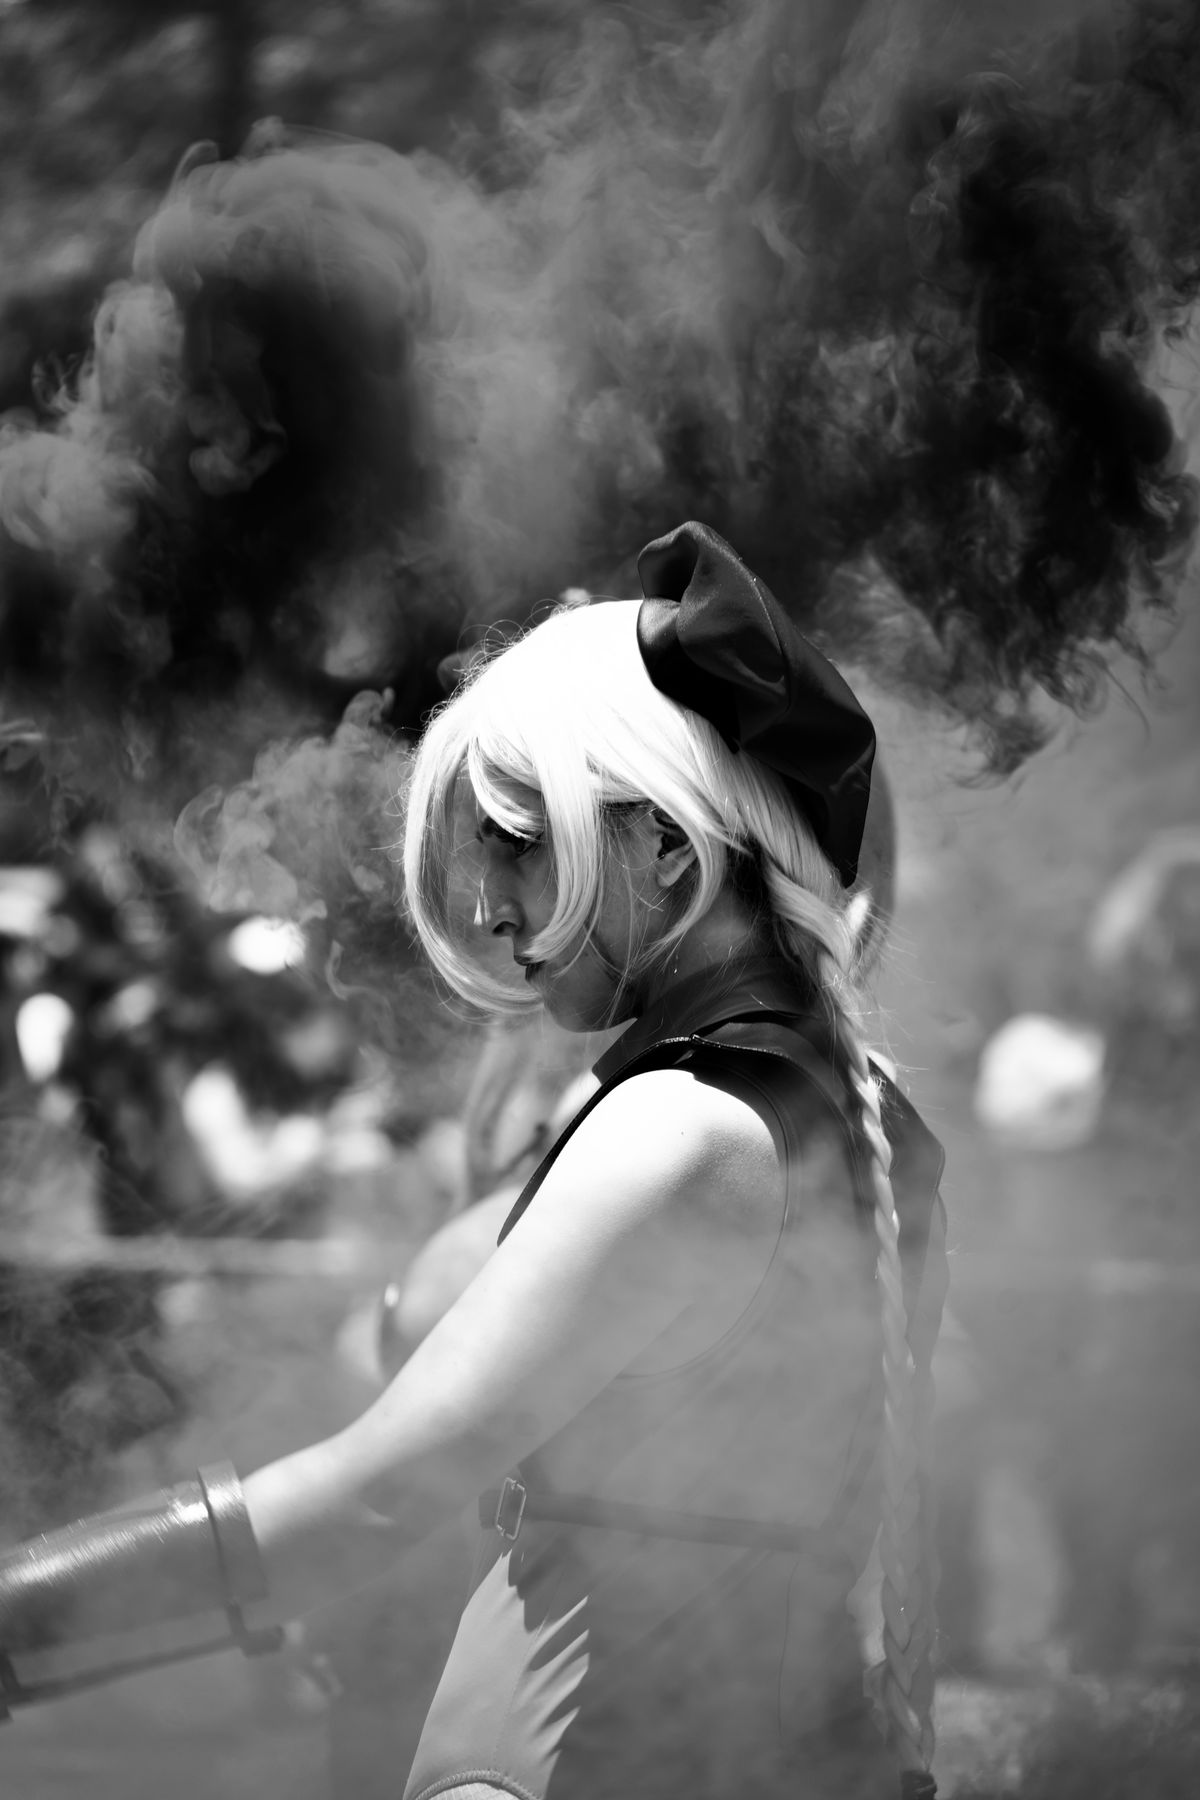
Rule one: no catchlight, no color
A lens shows color when light enters it and bounces back to the camera. The visible proof is a catchlight — that white dot in the eye. If your eyes show no catchlight in a photo, the lens color physically cannot render; it just reads dark. Before every shot, face a light source until you can see the dot in a selfie preview. Windows, the sky outside a doorway, a friend's phone flashlight held at arm's length — anything works. Convention halls kill lenses because their light comes from directly overhead: brow shadow, zero catchlight, dead eyes.
The angle math
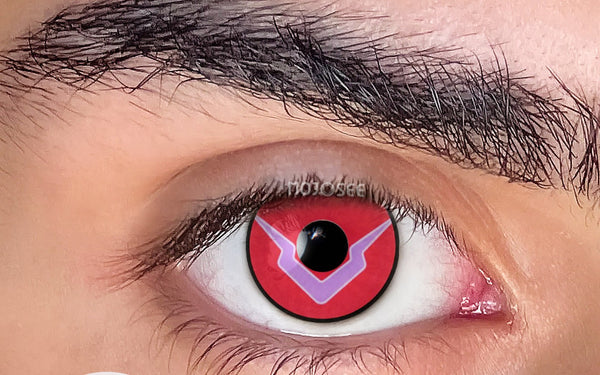
Light slightly above and in front of your face, camera at or just below eye level, chin a touch down, eyes up to the lens. That's the whole geometry — it drops light straight onto the iris and bounces it into the camera. The classic failure poses: head tilted down (lids shadow the iris), light behind you (silhouette), and direct hard flash from the camera position (red-eye's cousin — flat glare that whites out the pattern). For detailed patterns like red patterned eye, this geometry is the difference between the comma-mark reading and a plain red smudge.
Phone settings that matter (and the ones that don't)
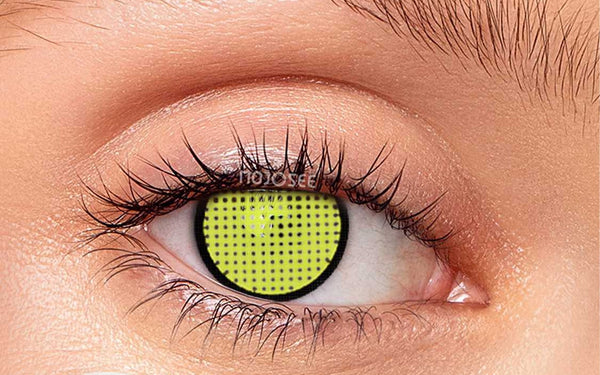
Tap-to-focus on the eye, then drag exposure down slightly — phones over-brighten faces and blow out light lenses like Snake Green. Portrait mode is fine; "beauty" filters are not — smoothing algorithms treat iris texture as noise and erase the pattern you paid for. Zoom with your feet, not the slider: digital zoom destroys exactly the fine detail lenses live on. For dark-base lenses on dark irises, everything in the dark eyes guide applies double on camera — opacity is what survives.

Color-specific behavior on camera
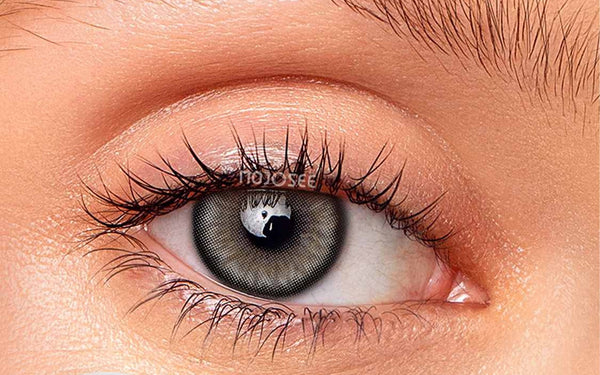
Every family photographs differently: yellows and golds like Akaza's gold love warm indoor light and die under blue-ish fluorescents; reds need strong frontal light or they collapse to brown; UV-reactive and bright patterns like Biohazard are built for flash and club lighting; whites and light grays are the only family that thrives under harsh convention fluorescents. Shooting outdoors? Open shade beats direct sun — sun forces squinting, and squinting hides a third of the lens.

Editing: enhance, don't replace
Fair game: +10 clarity/texture on the eye region, slight shadow lift, white-balancing the whole frame. Over the line: saturation-painting the iris — it reads instantly fake because the catchlight and lens texture stop agreeing with the rest of the face. If the color needs painting in post, the fix was lighting at capture time. And if the lens looks blurry rather than dim, that's a different problem with its own checklist.
Convention-hall lighting: the hardest case, solved
Con halls are where lens photos go to die — and knowing why lets you beat them. The problem is threefold: light comes from directly overhead (throwing your brow's shadow into your eyes and killing the catchlight), it's often cool fluorescent (which dulls warm lens colors), and it's flat and even (no directional light to make the iris glow). Three counters, in order of ease. Move to a doorway or window: even a few steps toward directional daylight transforms the shot — this is why con photographers cluster near entrances. Tilt your chin down and eyes up toward the nearest light so it reaches your iris and throws a catchlight. Have a friend hold a phone flashlight just above the camera as a cheap key light — one small directional source beats the whole ceiling. If none of that is possible, shoot in the hallway or outside for your hero shots and treat the show-floor photos as documentation, not portraits. The lens can only show its color when light enters it; your whole job in bad lighting is manufacturing one catchlight.
See it worn on camera
A worked example for your camera settings: a full character transformation ending in Chasca cosplay lenses, shot with the face angled into the light so the blue concentric rings stay crisp at arm's length. The lens macro in the middle of the video is the level of detail a con photographer can pull when the light source is in front of you, not overhead.
See a full-eye transformation photographed start to finish
FAQ
Why do my colored contacts disappear in photos?
No light was entering the iris — overhead lighting, downward head angle, or backlight. Find a catchlight in the preview before shooting; no dot means no color, guaranteed.
What's the best lighting for cosplay lens photos?
Soft light slightly above and in front of the face: window light, open shade, a diffused panel. Con-hall overhead fluorescents are the worst case — hunt for doorways, windows and photographer setups.
Should I use flash for contact lens photos?
Off-camera or bounced flash, yes — it creates the catchlight that activates the lens. Direct on-camera flash, no — flat glare that whites out patterns and flattens faces.
Do camera filters ruin the lens effect?
Smoothing/beauty filters do — they blur iris texture first. Color-grade the whole image freely, but keep texture and clarity intact over the eyes.
You might also like
Picked to match this guide — every pair in stock now.
 Niffty Prescription Cosplay Contact Lenses –$34.98per pair (2 lenses)
 Makima Yellow Prescription Cosplay Contact L$34.98per pair (2 lenses)
 Panty Prescription Cosplay Contact Lenses – $34.98per pair (2 lenses)
 Stocking Prescription Cosplay Contact Lenses$34.98per pair (2 lenses)
Explore more: Cosplay Contacts → · COSPLAY → · Anime Lenses →