






Why Colored Contacts Look Fake — and How to Pick Ones That Don't
"Fake" is not a property of colored contacts — it is five specific, avoidable mistakes. The checklist for lenses that pass at conversation distance.
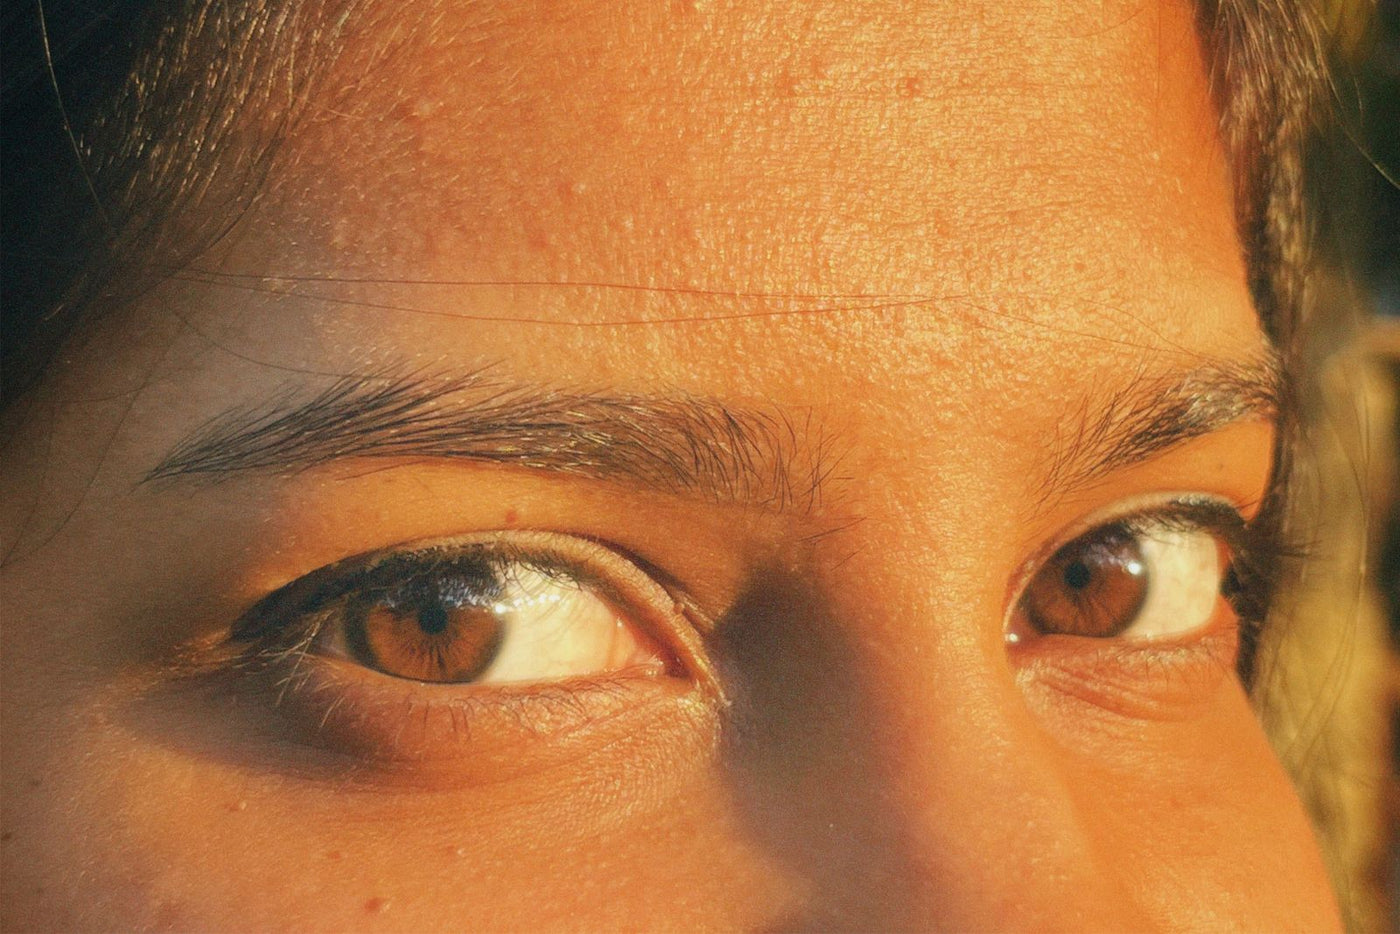
Colored contacts only look fake when one of five specific design mistakes is present — and every one of them is avoidable at checkout. Everyone has seen colored contacts that scream from across the room — flat, cartoonish discs that float on the eye. And everyone has not seen the good ones, which is exactly the point. "Fake-looking" is not the category's fate; it is five specific failures, each avoidable at purchase time.
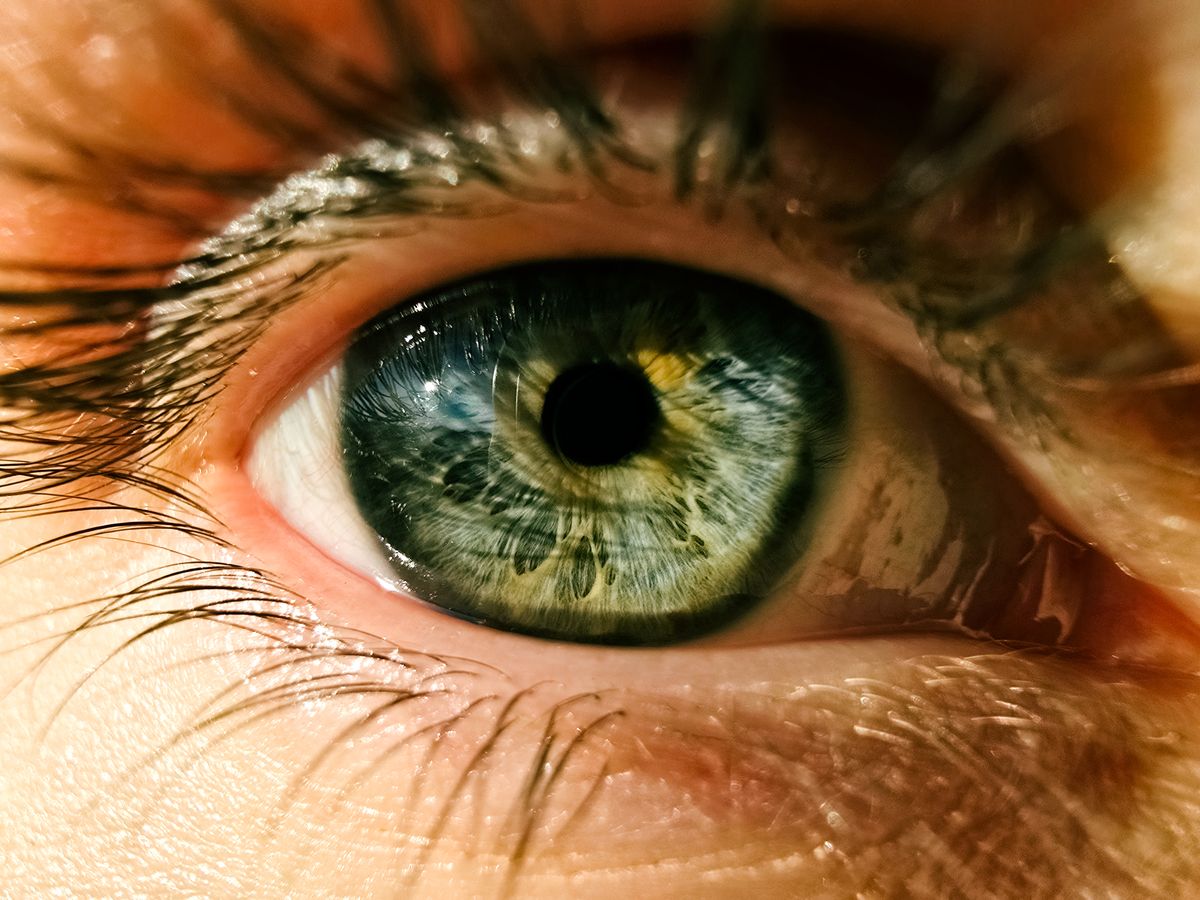
Failure 1: flat single-tone printing
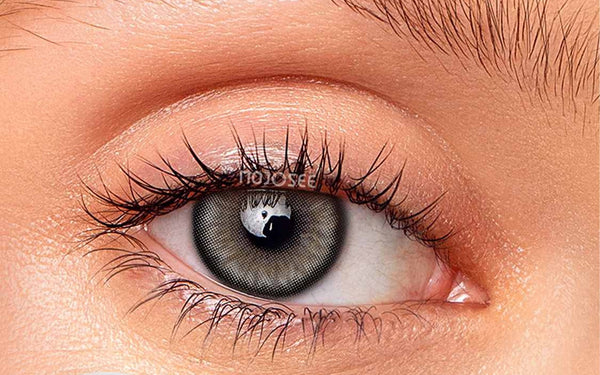
A real iris has radial fibers, a brighter inner ring and hundreds of tonal shifts. A lens printed in one uniform color has none — under any daylight it reads as a sticker. Fix: only buy multi-tone lenses with visible radial texture in the product macro shot. Three-tone construction is the baseline for realism.
Failure 2: no limbal ring
The limbal ring is the dark rim where your iris meets the white. Every young healthy eye has one; almost every "fake-looking" lens lacks one. It is the single highest-value feature to check for — a defined dark outer rim anchors any color into the eye.
Failure 3: wrong diameter
Average irises run 11.5–12.5 mm; lenses at 14.0–14.2 mm map onto them naturally. Every millimeter beyond that adds doll-eye enlargement — great with full makeup, instantly detectable on a bare face. Fix: bare-faced daily wear stays at 14.0–14.2 (the rule our whole men's collection is built on); 14.5 belongs with styled looks.
Failure 4: fighting your undertone
Icy blue-gray against deep warm skin creates a contrast the eye flags as off, no matter how good the lens. Warm undertones pair naturally with hazel, warm gray, green and honey; cool undertones carry icy grays and blues. This is also why "the same lens" looks different on your friend.
Failure 5: an implausible jump
Deep brown eyes turning pale ice-blue overnight invites questions. One or two plausible steps — brown to hazel, brown to warm gray, brown to muted green — read as "something's different, can't tell what". The full color-by-color logic is in the dark-eyes guide and the gray vs blue vs green comparison.

The 5-point checklist
- Multi-tone print with radial texture — visible in the macro photo
- Defined limbal ring
- 14.0–14.2 mm for bare-face wear
- Color matched to your skin's undertone
- One plausible step from your natural color
Every lens in the dark-eyes collection is photographed on dark brown irises precisely so you can verify points 1–2 yourself before buying — no light-eye photo flattery.
The five-second up-close test
Want to know if a lens will pass before you wear it out? Do this in the mirror in good light, from about a foot away — the distance a conversation actually happens at. Look for the three fakeness tells directly: Is there a hard black ring where the lens meets your iris, or does the edge blend? Does the color sit as one flat block, or does it have radial texture like a real iris? Is there natural white showing on both sides, or does the lens span your whole visible eye? A lens that passes all three at a foot away will pass in every normal social situation. A lens that fails even one will read as contacts to anyone who looks twice. This test also tells you why a lens looks off, which the mirror alone won't — "it just looks fake" becomes "the ring is too hard," which becomes "buy the tricolor version instead." Diagnose the specific tell and the fix picks itself.
The five failures, scored against what is in stock
Each failure above has a fix that can be bought, so here is what the fix costs at the time of writing. Prices per pair; one order is two lenses.
| Failure | The fix | Where to find it |
|---|---|---|
| Flat single-tone print | A design with iris texture or a two-tone gradient | Most 14.0–14.2mm naturals in the dark-eyes collection |
| No limbal ring | A defined dark outer ring | Check the flat lens shot: the ring is visible as a dark rim |
| Wrong diameter | 14.0mm for everyday; 14.2mm at most | The size line on every product page; the catalogue is weighted to 14.5mm, so filter |
| Fighting your undertone | Warm shades on warm skin, cool on cool | Brown and warm gray for warm; greige and true gray for cool |
| An implausible jump | One to two shades from your own | Brown-for-dark-eyes for one step; gray for two |
Two pairs that pass all five


Both are in-stock 14.0mm designs with a defined ring at the time of writing — the cheapest entries in their colour that meet the checklist. The gray is the two-step option, the brown the one-step.
Why lenses look fake in other people's photos and not in ours
Most colored-lens photography in the industry is shot on light irises with the lens at 14.5mm and a full face of makeup, and then sold to everyone. On a dark iris the same lens is a different object: the blend that looked soft on a hazel eye becomes a halo on brown, and the enlargement that a lashed, lined eye carried reads as a doll's eye on a bare one. That is why our natural designs are photographed on dark brown eyes where an on-eye image is shown, and why the honest rule for judging any listing is: if the base eye in the photo is lighter than yours, the photo is an upper bound, not a preview.
Price is not one of the five
Notice what is not in the checklist: cost. A $18.98 lens with texture, a ring, the right size and the right undertone beats a $35 lens missing any one of them. Within the standard sizes the price of a lens tracks print complexity and corrective powers, not realism. Spend on the checklist, not on reassurance.
Up close versus across a room: two different tests
A lens can pass one and fail the other, and knowing which you are buying for settles a lot of arguments. Across a room, the only things that register are size and colour distance — a 14.0mm lens one or two shades from your own is invisible at that range whatever its print. Up close — a conversation, a phone held at arm's length — the print itself is visible: the edge, the ring, the halo around the pupil, the texture or flatness of the iris. That is where a cheap flat print fails and a textured, ringed one passes. If your life is mostly the first distance, spend on size and shade; if it is the second, spend on print.
The makeup that makes a lens look faker
Heavy black liner all the way round the eye frames the iris and draws attention straight to the lens edge. A thick lash band does the same from above. Both are fine on a lens that is meant to be seen; on a natural lens they turn "nice eyes" into "what is on her eyes". Keep definition to the lash line and the outer lower lid, let the lens's own ring do the framing, and skip anything shimmery on the lid that competes with the catchlight.
A note on men
Every failure on this page arrives one size earlier on a man, because a bare male face has no liner or lash to explain an enlarged or edged iris. The fixes are the same and the margin is smaller: 14.0mm, a defined ring, a shade one step from your own, and brown before gray for a first pair.
The order to fix things in
If a pair you own looks fake, do not start with the colour. Check it is centred (a crescent of your own iris at one edge is handling, not the lens). Check the size (14.5mm on a bare face cannot be fixed with a different shade). Check the ring (a ringless light shade will always show its edge). Only then consider the shade — and go one step closer to your own, not one step lighter.
Ordering a pair that will not look fake
We ship standard only — 14 to 20 days door to door, with tracking issued about five days after you order — so for a date you care about count backwards three weeks and add a practice week. The practice matters here more than anywhere: a lens that passes all five points on paper can still look fake for the first few days because it is off-centre, and centring is a skill that takes a handful of insertions to learn. Buy one pair, wear it at home in daylight, run the five-second up-close test in a mirror, and only then buy the season's worth.
The short version
Size first: 14.0mm for everyday. Print second: texture and a defined ring. Shade third: one to two steps from your own, warm on warm skin and cool on cool. Price is not on the list. If a pair still looks fake after all that, it is centring, and that is fixable tonight.
FAQ
Do colored contacts look fake up close?
Cheap flat prints do. Multi-tone lenses with a limbal ring pass at conversation distance; only a deliberate close stare finds them.
What is the most natural color over dark brown eyes?
Hazel and light brown are undetectable; warm gray is the best visible-but-believable step. See brown contacts for dark eyes.
Are bigger lenses always more fake-looking?
On a bare face, yes — enlargement reads as anime styling. With full eye makeup, 14.5 mm integrates fine.
Why do the lenses in your photos look realistic?
Because they are shot on dark brown eyes in daylight — the same conditions you will wear them in, not studio-lit light irises.
Why do my colored contacts look fake?
Almost always one of three structural things, not the color: a hard dark ring at the lens edge, a diameter so large no natural white shows, or a flat textureless color block. Fix those — soft-rimmed tricolor design, natural 14.0–14.2mm, visible iris texture — and even bold colors read real.
What makes colored contacts look natural?
Tricolor or gradient designs with a soft rim (they mimic how real irises scatter light), a natural diameter that leaves white on both sides, and a shade within a step or two of a believable human eye color. Opacity matters too on dark eyes — sheer tints look muddy.
Do more expensive colored contacts look more natural?
Not automatically — natural-looking comes from design (soft rim, tricolor texture, natural diameter), not price. A well-designed affordable lens beats a pricey flat-color one. What money more reliably buys is consistent quality control and sandwiched pigment, but a cheap lens with the right design still reads real.
What is the single biggest reason colored contacts look fake?
Size. A 14.5mm lens on an eye that is not styled to support it reads as enlarged from across a room, and no shade fixes it. Buy 14.0mm for everyday wear and treat 14.5mm as the photo and cosplay size.
Do expensive colored contacts look more real?
Not on their own. Within the standard sizes, price tracks print complexity and corrective powers. A cheaper lens with texture, a defined ring, the right size and the right undertone beats a dearer one missing any of those.
You might also like
Picked to match this guide — every pair in stock now.
 Vika Tricolor Blue Colored Contact Lenses$21.98per pair (2 lenses)
 Polar Lights Blue Gray Prescription Colored $19.98per pair (2 lenses)
 Starry sky Gray Prescription Colored Contact$22.98per pair (2 lenses)
 Polar Lights Brown Prescription Colored Cont$21.98per pair (2 lenses)
Explore more: Natural Colors → · Natural Contacts →